What to make from such a versatile fabric? Nothing but an equally versatile blouse would do, namely, The Portrait Blouse from Gertie's New Book for Better Sewing.
Showing posts with label women. Show all posts
Monday, 4 April 2016
Polka-dot Portrait Blouse
With spring in the air, it was time to start thinking about spring/summer clothes, especially tops, of which I never seem to have enough. I spotted a gorgeous polka-dot polyester crêpe de chine with a navy ground and dots in off-white and a blue that reminded me of Delft porcelain, and, what's more, it was heavily discounted ($4.20/metre, instead of $14). This fabric didn't speak to me. It sang like the Vienna Boys' Choir, speaking of interviews and summer barbecues and Audrey Hepburn elegance.
What to make from such a versatile fabric? Nothing but an equally versatile blouse would do, namely, The Portrait Blouse from Gertie's New Book for Better Sewing.
It whipped up really easily, even having to do my usual full bust adjustment and sewing the side zipper, hem, and armholes by hand. I used a lightweight sew-in interfacing on the neck facing, sewing it to the outer edge of the facing wrong-sides together and turning it right-side out to enclose the raw edges of a fabric that had a tendency to fray a bit. All in all, it turned out quite well, and I definitely will make it again, maybe a whole collection of them for summer in a variety of lightweight drape-y fabrics.
As you can see from the photos, it goes really well with the pencil skirt I made last month, but I can see it going just as well with jeans or trousers, too, peeking out from under a blazer.
What to make from such a versatile fabric? Nothing but an equally versatile blouse would do, namely, The Portrait Blouse from Gertie's New Book for Better Sewing.Thursday, 10 March 2016
Purple Pencil Skirt
Well, I finally finished one of the personal projects I've had in mind, the high-waisted pencil skirt from Gertie's New Book for Better Sewing. I copied the pattern nearly a year ago, I've had the fabric in my stash for even longer, but it finally all came together.
It started with a thrift store find, several metres of a purple-grey suiting-weight satin-weave mystery fabric in a shade somewhere between dark slate blue and muted purple. It might be wool, it might be acrylic or polyester, but I liked the hand and the colour (and the price, of course, appealed to my Dutch sensibilities). I made up the skirt in a straight size 16, with only minor alterations (shortening the back darts and moving the front darts to a more flattering position for me). I also opted to forgo the high-waisted look in favour of a straight 1-1/2 inch (3.8 cm) band.
The hardest part was trying to match thread and zipper, since the colour is not really a fashionable shade right now. I finally opted for dark grey. Oh, and trying to work around a series of regular holes along the centre fold of the fabric, which had probably been a mill end.
This is definitely a skirt for wear with heels, and if I were making it for someone with even slightly shorter legs, I would definitely either shorten the skirt or put in a deeper hem, since it hits me (with a 33-inch/83 cm inseam) just below mid-calf. The other issue I have is that the hem tends to bind my stride a bit. I will wear it as is for a while, but I'm thinking I will either need to shorten it a bit, or add a vent to the centre back seam.
Tuesday, 2 June 2015
New Look 6150/Gertie's Easy Knit Pencil Skirt mash-up
![]() |
| The gathering in the dart area-- well-hidden by the print. |
![]() |
| Hard to see, but the pleat replacing gathering in the shoulder area. |
Aside from cutting the top front and back pieces at the waistline, that was the only adjustment I performed on the pattern pieces. In sewing, I replaced the gathering on the front shoulder seam with a single pleat double-needle hems with machine blind stitching, and I stabilized the waist seam with elastic.
| The finished product, ready for a long day of marketing workshop and serving as a dresser at a fashion show. |
Friday, 3 April 2015
New Look 6150 review, Part 2
After the relatively simple project that was the T-shirt version of the top, I was hoping that the wrap top would be of a similar difficulty. Short version? It wasn't.
I chose the same jersey knit, in a different print,
and based on the amount of ease in the pattern, I opted not to do an FBA, just to test.
I traced the pattern pieces and cut them out, which was where the challenges of working from stash fabric come in. I was about 10cm short of having enough fabric to cut all the pieces, so I had to piece the outer front near the hem.
I followed the directions as given in the pattern, although I did lengthen the sleeves about 5 cm.
The directions for the collar and front were a little hard to follow, especially for the forming of the pleat that helps to form the lapel. Next time, I will figure out the assembly process on my own.
Also for next time:
1) Do an FBA. The top can be worn, but the upper edge of the draped front hits a little high.
2) Lengthen the top about 7-8 cm and do a swayback/big bum adjustment.
Pattern ratings:
I chose the same jersey knit, in a different print,
and based on the amount of ease in the pattern, I opted not to do an FBA, just to test.
I traced the pattern pieces and cut them out, which was where the challenges of working from stash fabric come in. I was about 10cm short of having enough fabric to cut all the pieces, so I had to piece the outer front near the hem.
I followed the directions as given in the pattern, although I did lengthen the sleeves about 5 cm.
The directions for the collar and front were a little hard to follow, especially for the forming of the pleat that helps to form the lapel. Next time, I will figure out the assembly process on my own.
Also for next time:
1) Do an FBA. The top can be worn, but the upper edge of the draped front hits a little high.
2) Lengthen the top about 7-8 cm and do a swayback/big bum adjustment.
Pattern ratings:
- Size range: 3/5 -- New Look is a division of Simplicity, so the pattern only runs up to an 18.
- Instructions: 4/5 -- The clarity depends on the view. The T-shirt is easy to follow, the wrap top, not so much.
- Construction process: 3/5 -- Could be much more streamlined.
- Final fit: 4/5 -- The shoulders, sleeves, and back fit fine, The front fits without gaping at the front, but is a little tight and pulls on the back of the neck. It's a little short for my comfort, too, with a minor tendency to ride up in the back. That might because of the need for the full bust adjustment, but I think I'd adjust the length anyway.
- Overall rating: 4/5
Friday, 27 March 2015
New Look 6150 review
I am finally posting a project I finished back in the autumn, since my notoriously camera-shy daughter allowed me to corner her to photograph the finished project.
For this project, we opted for the simpler, boatneck T-shirt version, with elbow-length ruched sleeves, in part because this was my first-ever knit project in nearly thirty years. We opted for a light-to-medium weight sweater knit in an abstract print.
The hems were pinned up and topstitched with a double needle.
Overall, this was a very easy project, which I would recommend for a relative beginner who has a good understanding of their sewing machine (I made it up in about one-and-a-half hours, including layout and cutting).
The only alteration that was required was taking in the centre back seam about one inch total at the neckline to rectify a bit of a gap.
The directions in the pattern were fairly straightforward, the only hint of a challenge coming from the application of the elastic used to ruche the sleeves.
For this project, we opted for the simpler, boatneck T-shirt version, with elbow-length ruched sleeves, in part because this was my first-ever knit project in nearly thirty years. We opted for a light-to-medium weight sweater knit in an abstract print.
Since I don't have a serger, I sewed the seams with the narrowest possible zigzag stitch and finished them with my machine's overcast stitch.
The hems were pinned up and topstitched with a double needle.Overall, this was a very easy project, which I would recommend for a relative beginner who has a good understanding of their sewing machine (I made it up in about one-and-a-half hours, including layout and cutting).
The only alteration that was required was taking in the centre back seam about one inch total at the neckline to rectify a bit of a gap.
The directions in the pattern were fairly straightforward, the only hint of a challenge coming from the application of the elastic used to ruche the sleeves.
Draft day
The other day, I used the original to make a master pattern on grid paper, which I have since copied onto waxed tissue. In the interest of fitting it all onto one sheet of pattern tissue, I copied it without seam allowances, which will be cut in when the pattern is applied to the fabric, a rayon-elastane knit with a fair bit of horizontal stretch, nearly identical to the viscose-elastane blend of the original.
I also copied out the pieces for New Look 6150, view A, which is a surplice mock wrap top with three-quarter-length sleeves. The plan is to make a wearable muslin in this medium-weight sweater knit in abstract floral, which has been sitting in my stash since late summer. The pattern has been there for nearly a year, waiting for the proper fabric to make it up. Once I've mastered the fit, I plan to adapt the pattern for the bodice of a mock wrap dress (skirt based on either Gertie's Knit Pencil Skirt or Sew-So-Easy's wrap dress) to be sewn in this lovely bright printed knit.
Wednesday, 21 January 2015
Pattern Review: Gertie's Easy Knit Pencil Skirt
After a bit of discouragement with a project that just didn't go quite to expectations (more on that at a later date), I decided it was time to stop beating myself up and move on to an easier project. Over the Christmas holidays, I picked up Gertie Sews Vintage Casual. I've been dying to try some of the projects, particularly the Easy Knit Pencil Skirt, which is, quite simply, two pieces of fabric plus elastic for the waistband.
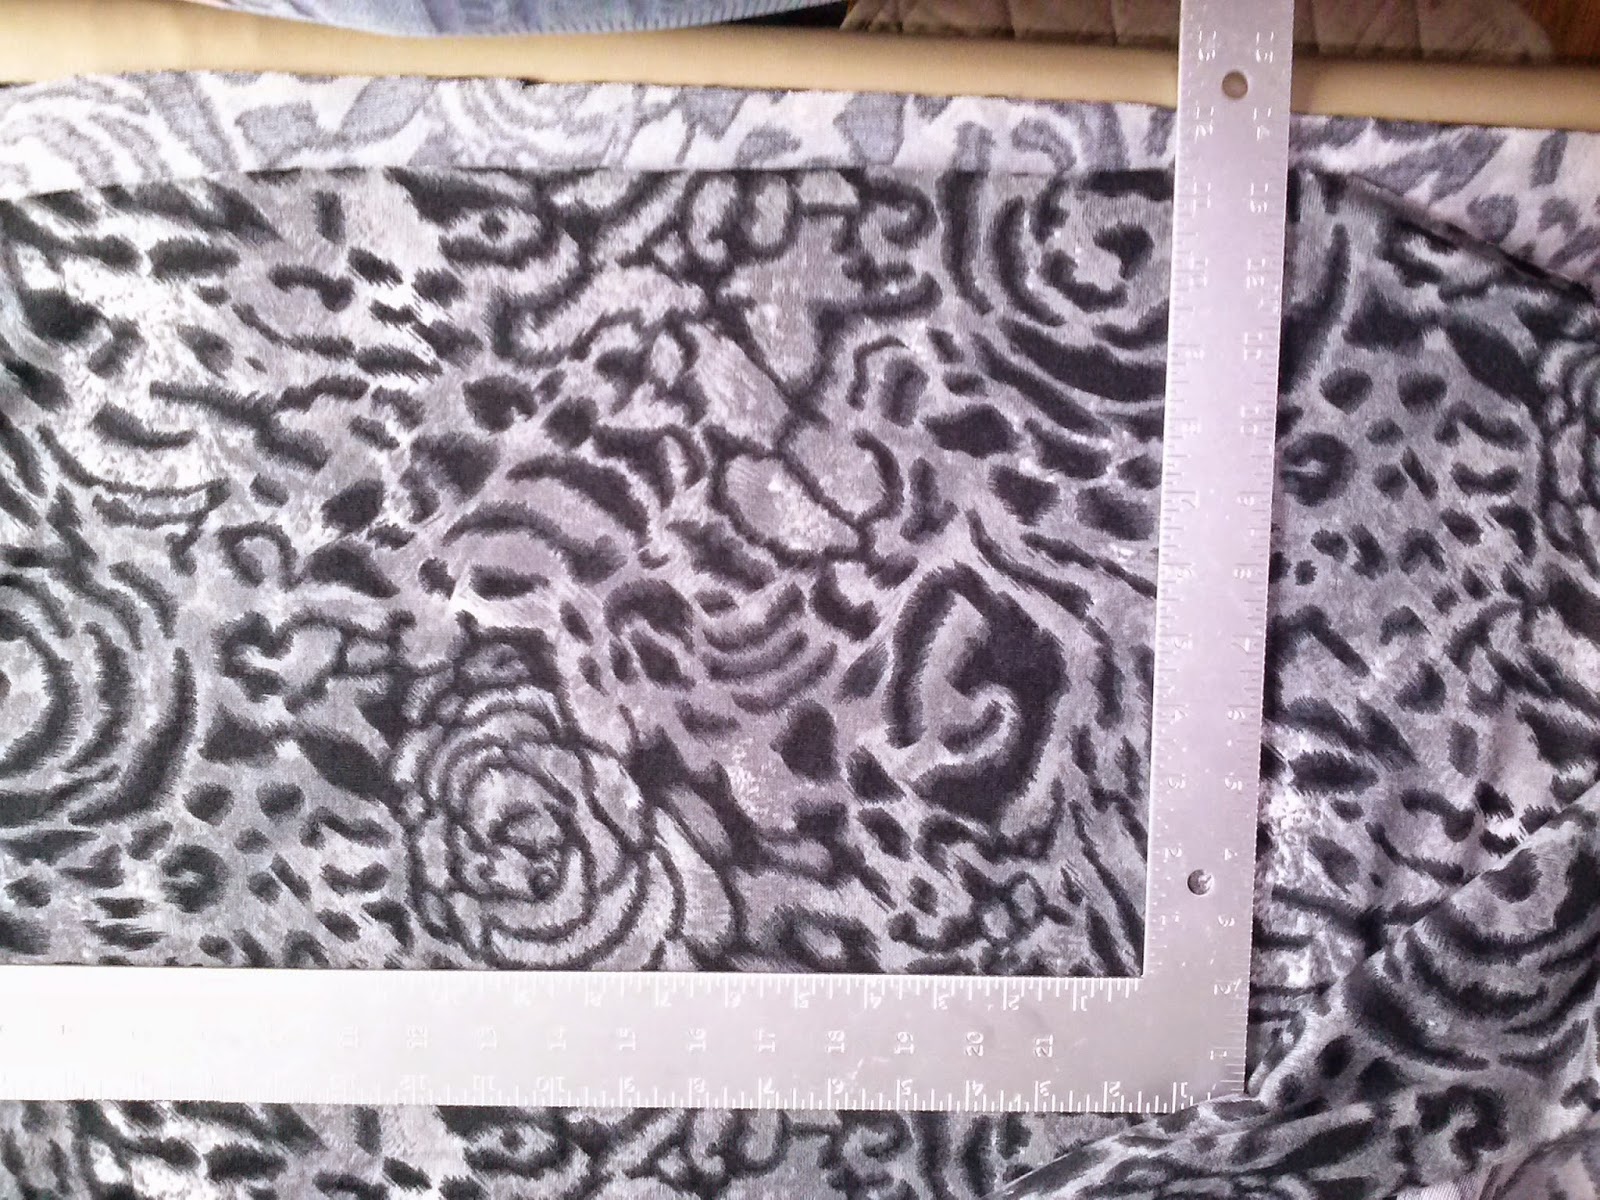
In the fall, I had picked up a lovely grey-and-white jacquard knit from a remnant bin. Lo and behold! What had Gertie made the illustrative skirt of? Why, an almost identical fabric!Thus encouraged, I traced the size 14, graded up to the 16 at the waist, and went to town. With the size grading, the skirt was almost a perfect fit, although I might take it down about half a size next time for a more curve-hugging fit. (Sorry about the dirty mirror.)
All told, it took me about two-and-a-half hours from start to finish, including tracing the pattern and a fifteen-minute break for lunch, so not a lot of time invested (and with the discounted fabric, not a lot of money, either). As far as wearable muslins go, I would call this one a winner.
Next time, I think I will try the gored, flared version, perhaps in a navy or charcoal ponte knit. This one pattern will, I think, become a tried-and-true addition to my repertoire.
Sunday, 31 August 2014
Torn project: girl's nightgown
I was feeling the need of a quick, easy-to-finish project, so I had my daughter pick out a length of cotton flannelette for a quick nightgown.
Except for the neckline, this was entirely a torn project, with almost no waste. Yoke, body, sleeves, and cuffs used up 1.5m of fabric, three buttons from my stash, and a short length of bias tape to finish the neckline.
Since I wanted to make sure that there was room to grow, I didn't do much in the way of tailoring, except to make sure that she wouldn't step in the hem.
The end result was a cute, old-fashioned warm nightie. Now her elder sister wants one, too.
Except for the neckline, this was entirely a torn project, with almost no waste. Yoke, body, sleeves, and cuffs used up 1.5m of fabric, three buttons from my stash, and a short length of bias tape to finish the neckline.Since I wanted to make sure that there was room to grow, I didn't do much in the way of tailoring, except to make sure that she wouldn't step in the hem.
The end result was a cute, old-fashioned warm nightie. Now her elder sister wants one, too.
Thursday, 17 July 2014
Steampunk/Victorian Inspiration
Or why I rediscovered the joys of sewing
Back in the spring, the Mister and I were planning to attend Vancouver Fan Expo, a celebration of all things geek. Having been a fan of steampunk style since I first heard the term about three years ago, I decided that I wanted to attend in costume.
Thus inspired, I headed out to my local Fabricland and started scouring pattern catalogs. There, I found this lovely three-piece outfit (Simplicity 2207) and some suitable fabric (creamy-beige shantung and blue-green slub suiting) in the discount bin.
I had to alter the jacket to fit (notably a full-bust adjustment to add another 5"), but the only adjustment I made to the skirt was to eliminate the frill at the top of the flounce and take the excess fabric up in a hem. I actually think this allowed the whole thing to hang better.
The bustle/apron piece is a lovely bit of patchwork. Because I was working with leftover fabric from the other pieces, I eliminated the centre back seam and backed the shantung with a layer of pieced-together scraps from the skirt. This actually made the fabric too bulky to gather as per the pattern instructions, so I made some soft pleats instead as I eased the doubled fabric to the correct length to attach the centre-back ruffle, and to attack the tie waistband.
When I make the jacket again, I believe that I will adjust the armscye and add maybe a half-inch of extra width to the sleeves. Both are a smidge on the tight side.
Subscribe to:
Posts (Atom)